In my quest for studio perfection I decided I should like to upgrade my ultra violet exposure unit.
Those familiar with alternative photographic processes will be aware that a UV light box is a pretty common tool. It is used to expose whatever you're printing onto/with to UV light which when passed through a negative onto a pre-prepared light sensitive surface can produce an image.
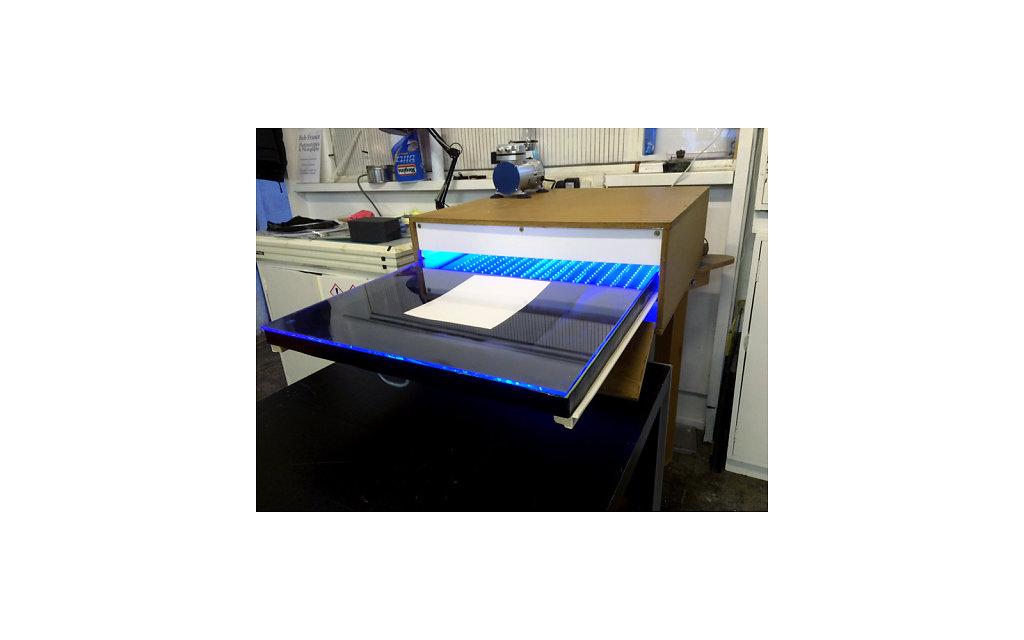
My own UV box was okay. I built it myself and it had been slowly upgraded and tweaked over the last six months and did a decent enough job. It had a vacuum driven contact frame which I was very proud of and could hold a sheet of paper up to 600mm square. the only thing I wasn't happy with was the exposure times, which were a very lazy 25minutes that impacted upon my work-flow and rather stressed my vacuum pump.
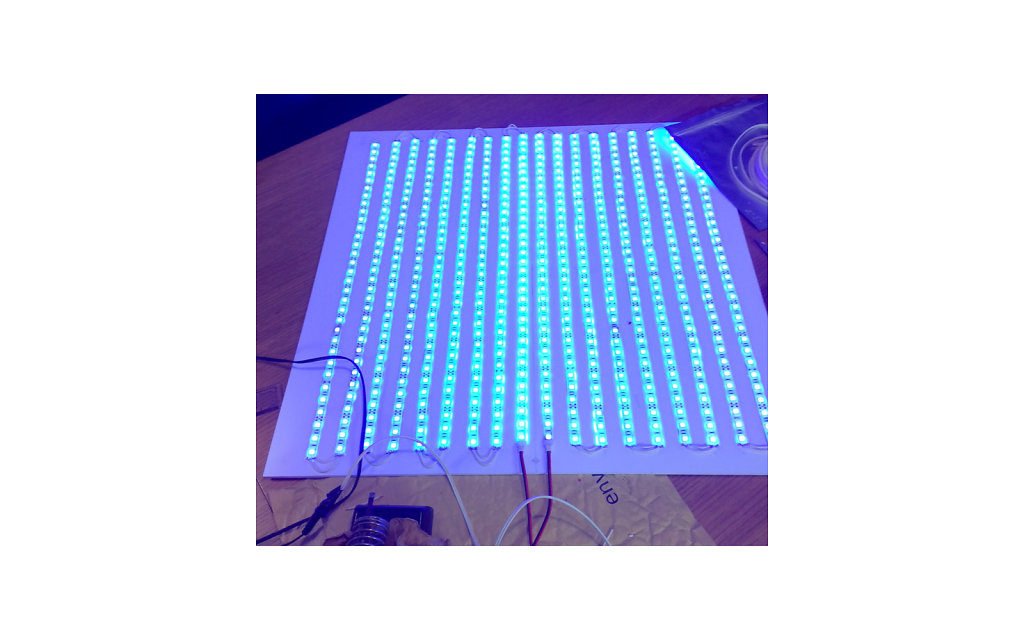
With this in mind I began looking into how to improvements. My initial idea was to increase the amount of UV florescent tubes from 6 to 14 and increase power and efficiency by over-driving the tubes and using modern high efficiency ballasts. However before I did this a fairly new technological advance, namely ultraviolet LEDs caught my eye. Having found that you can buy them, ready-to-go, on a 5m long ribbon I decided to buy a length and jury-rig a test. The results from this rough test were surprising - a very good and even exposure in less than ten minutes. Hearted by this I shelved my UV tube ideas and set out to build an LED based unit.
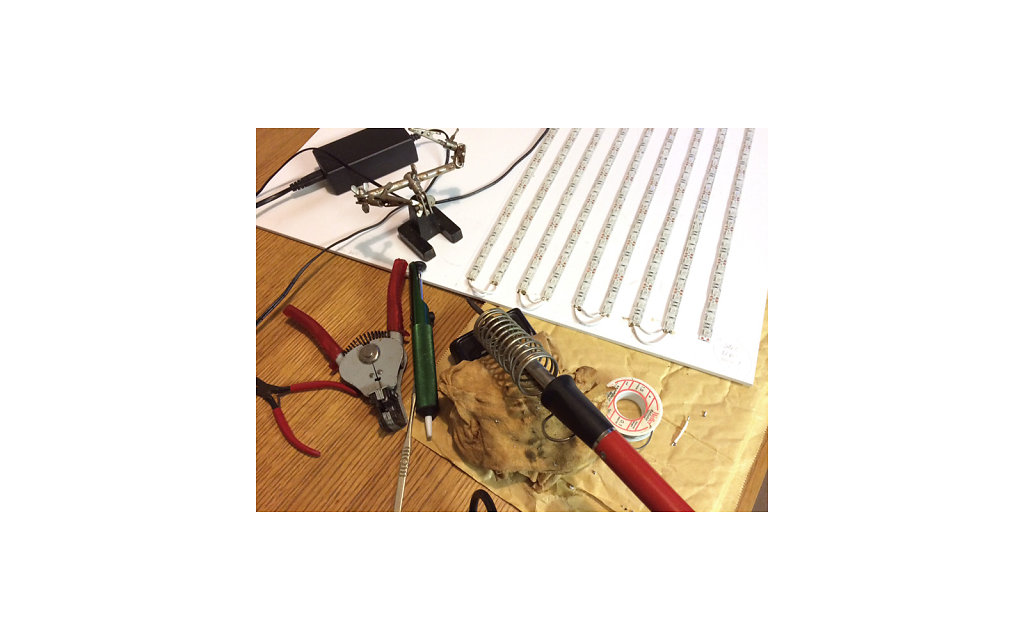
I purchased an extra 5m of the LED ribbon and and set about cutting it and attaching it to a white foamex board.
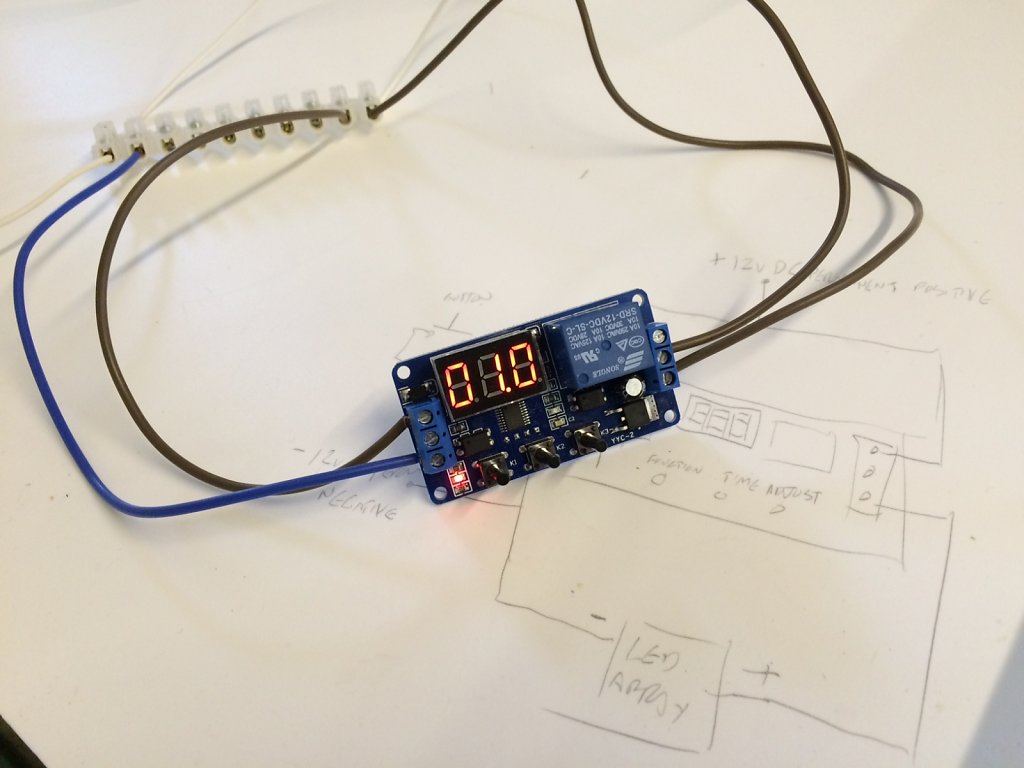
For added ease of use I also integrated a timer unit, which allowed me to pre-select a time, hit the start button and let it go.
So how is it? ...
All in all I'm very pleased. It's a much neater set-up and a dream to use. It runs cool and uses less power. The only issue I've found is that the LEDs seem to be producing a slightly lower contrast image. I assume this is due to the longer wavelength of emitted by the LEDs compared to the UV tubes (405nm against 375nm), though I'm not sure of the physics involved, but I should be able to compensate for that.
Here's a little vid of it running.